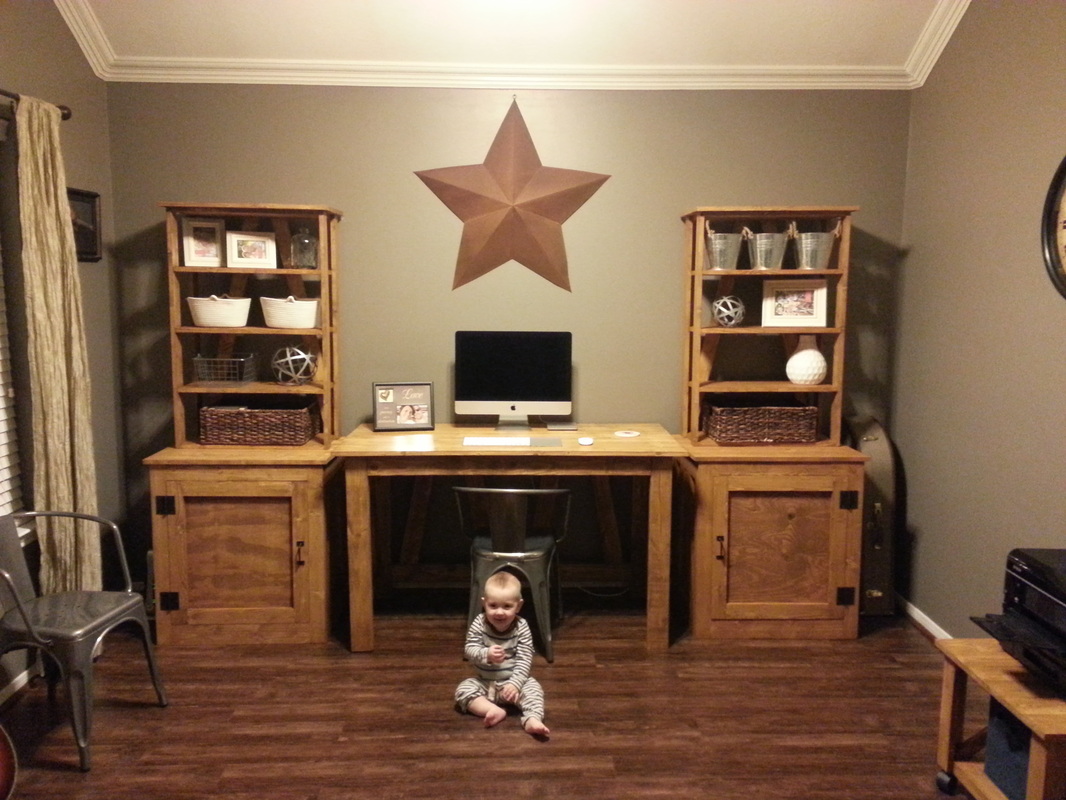
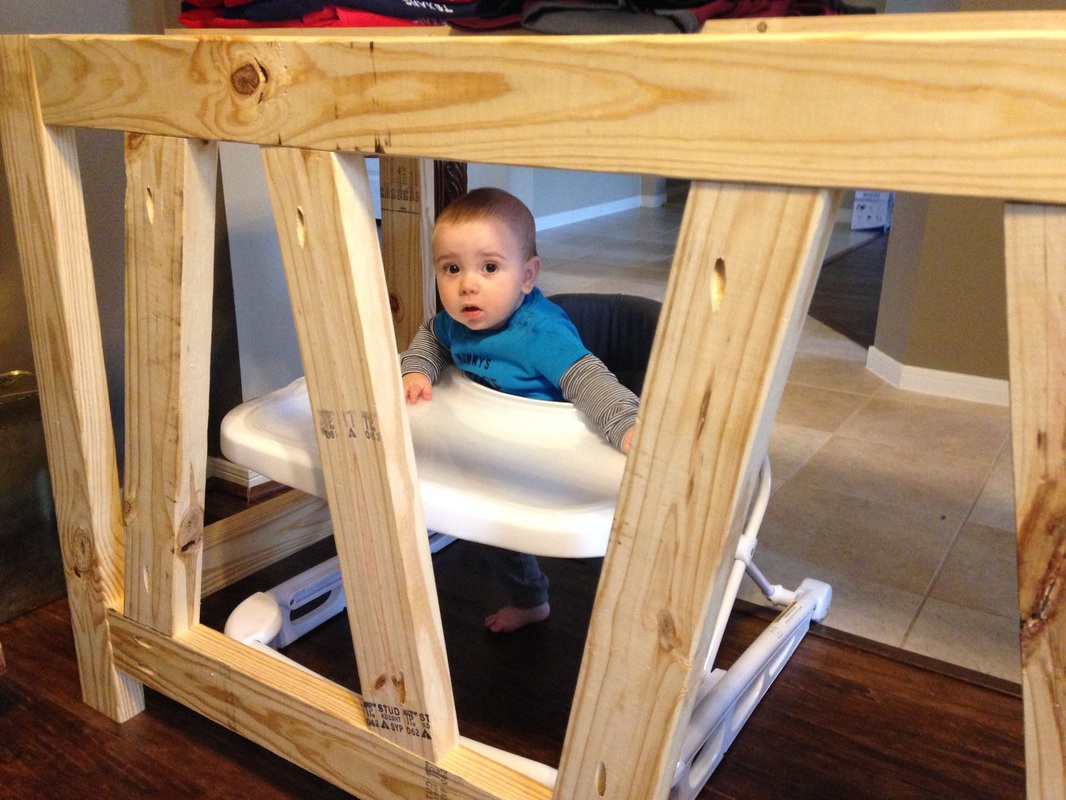
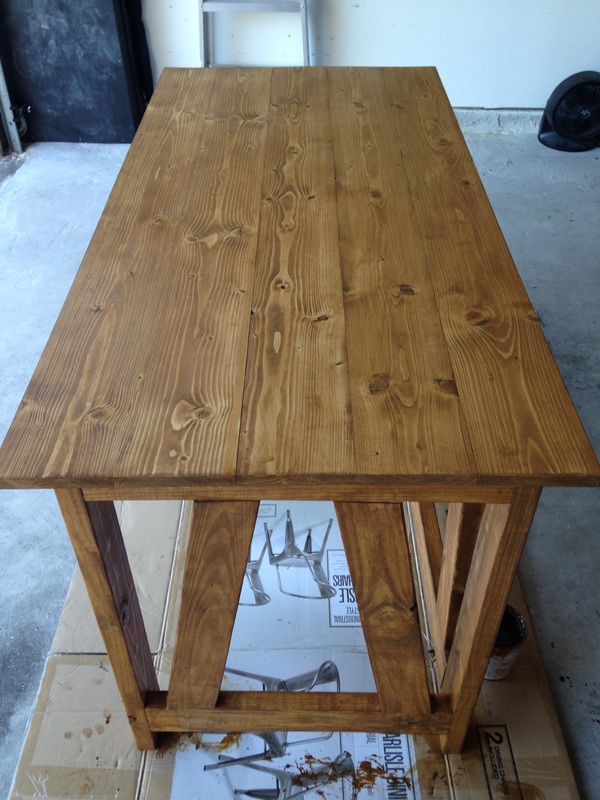
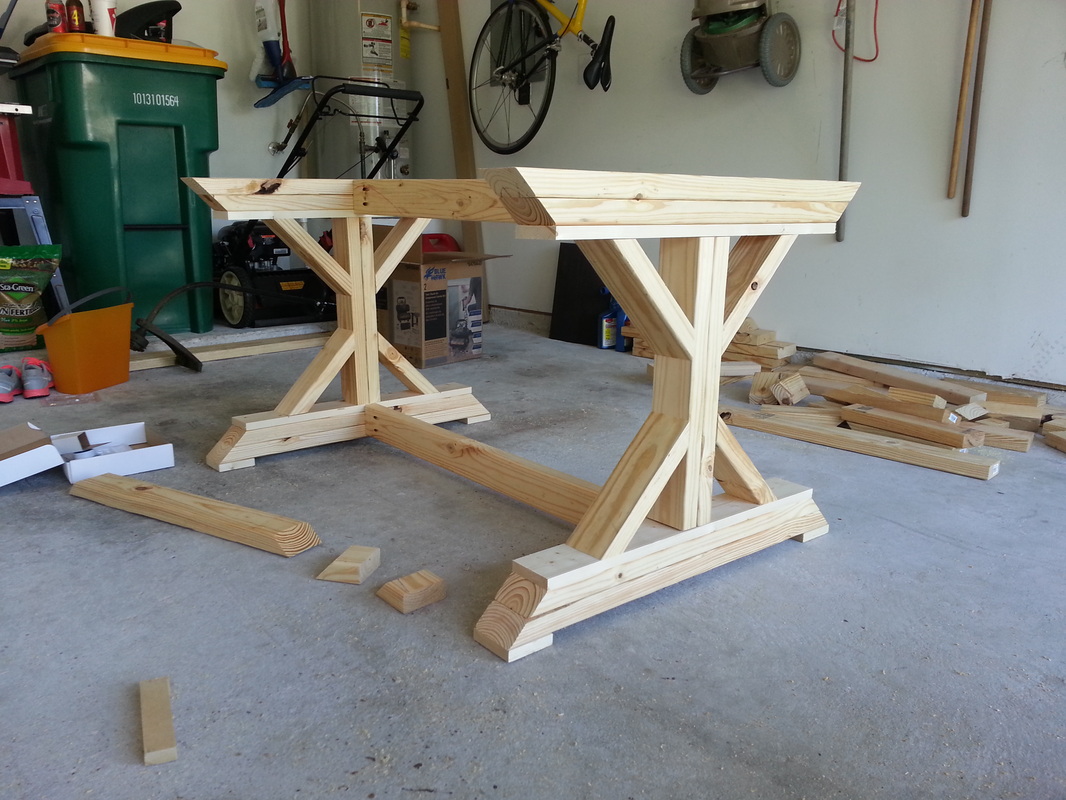
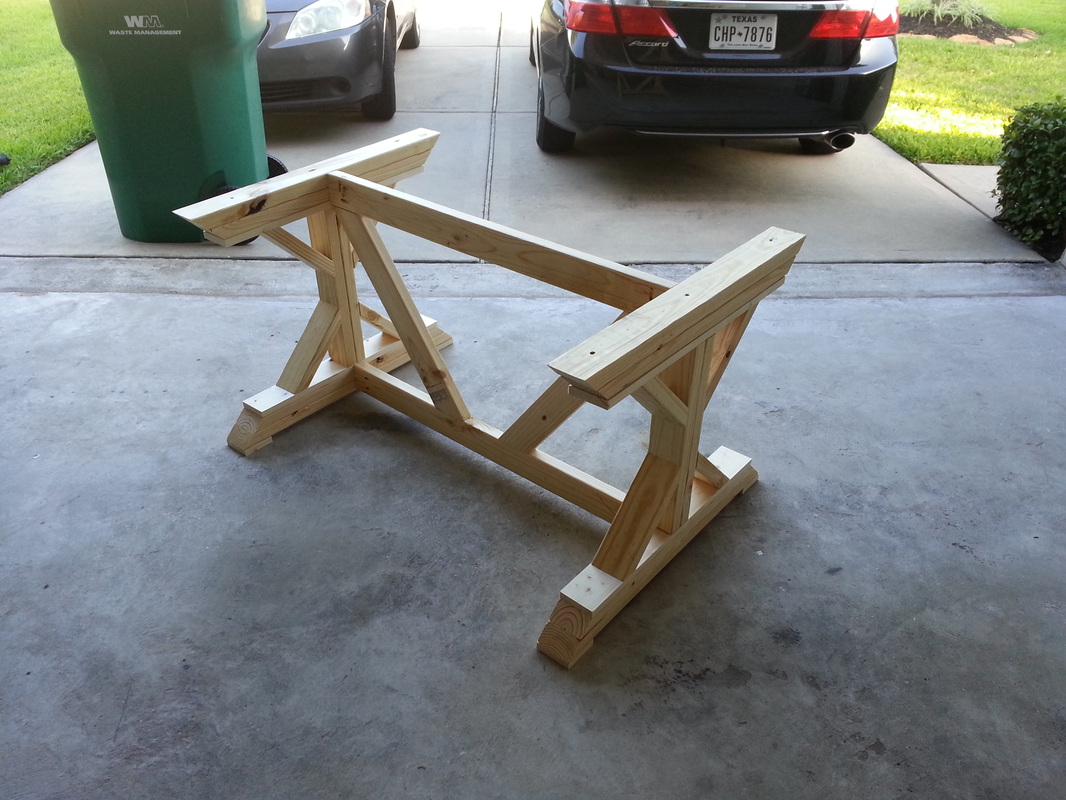
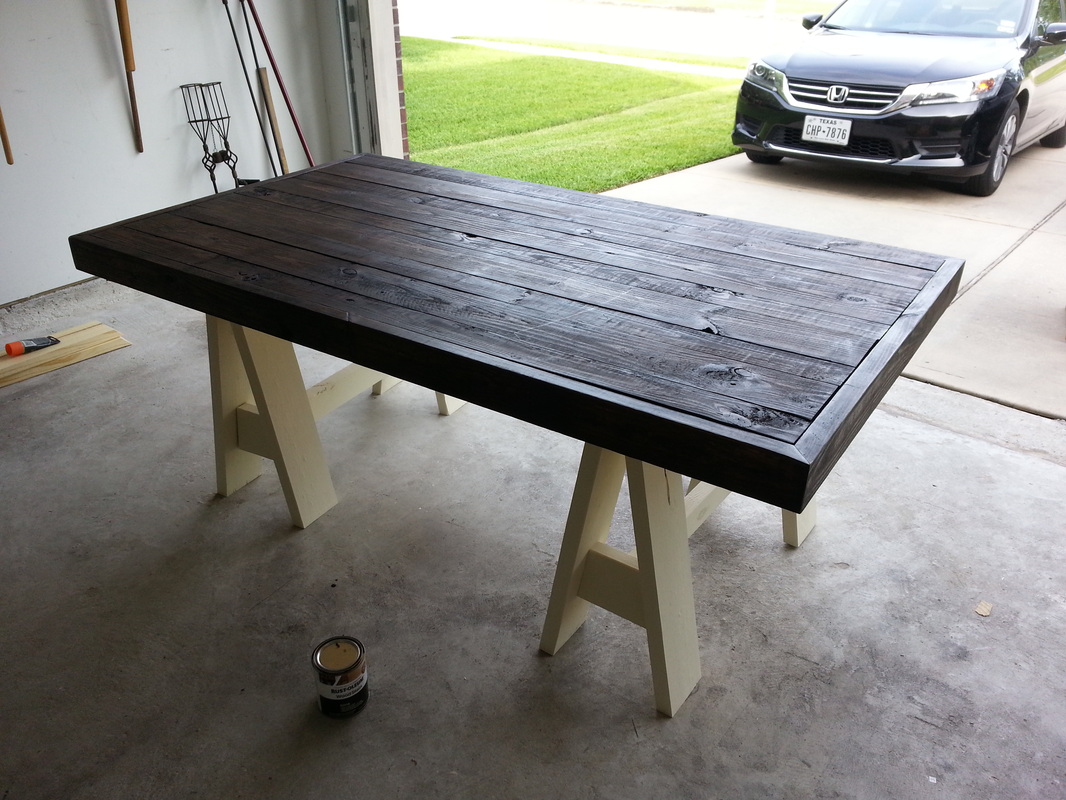
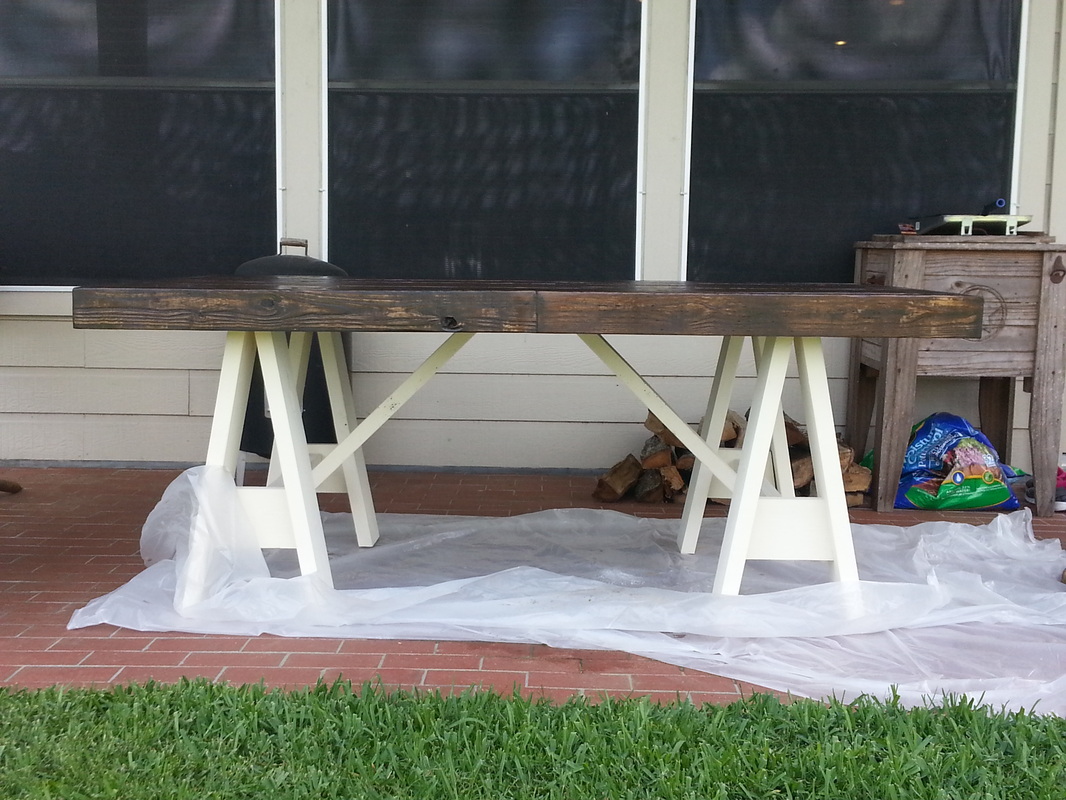
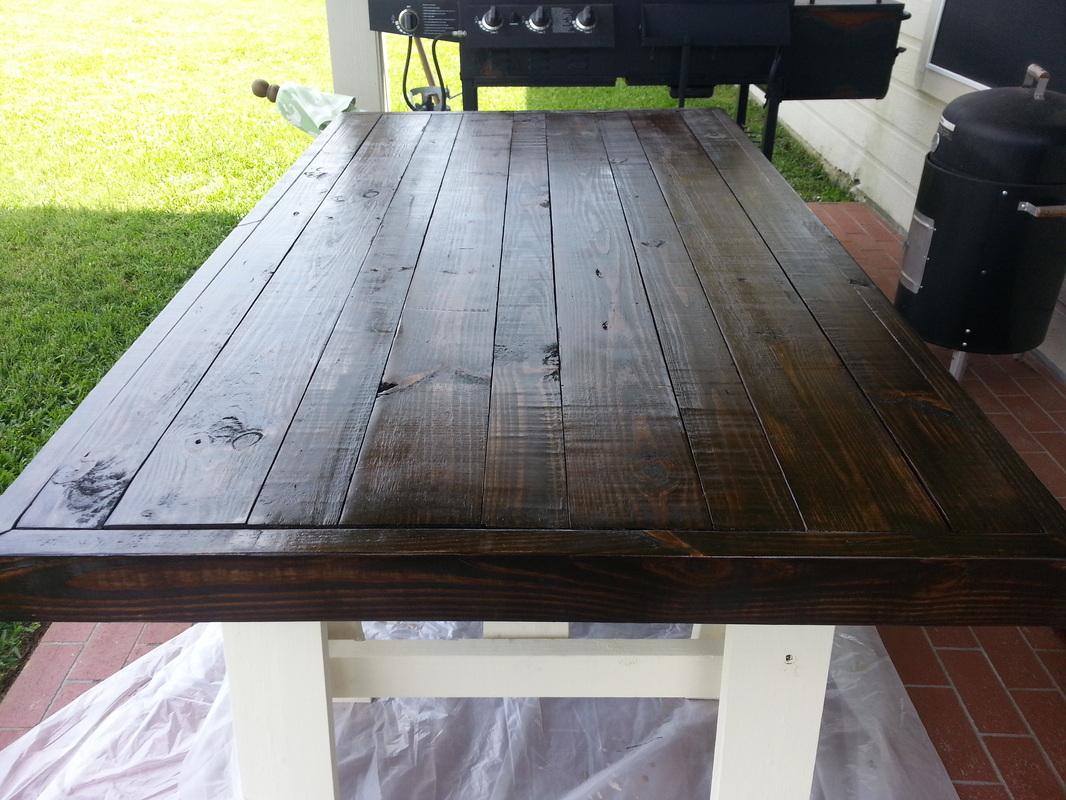
I recently posted a blog about the new desk that I had built for the study. The desk was actually part of a three piece set which includes the two cabinets and bookshelves I am writing about today. I didn't actually build both sets simultaneously as there was a few weeks delay due to the Christmas gifts I was building. Not to mention I needed a break from some of the frustrations I faced building the first cabinet. Here's the story...
When Lindsay found the desk from Shanty-2-Chic, she not only noticed how nice the desk looked but also how nice the matching set of cabinets and shelves looked as well. I have to admit, I was very overwhelmed when I looked at the picture because I knew this would require materials that I have not worked with before and introduce me to a whole new skill set. But amidst all of those thoughts, I liked the way the set looked as well. After looking at the plans for several days and knowing that I was at a point of no return since I had already built the desk, I gathered my materials list and set out to my local big box store. In addition, we made this a family trip, which made it all the more interesting. I stood and looked at plywood for a good 30 minutes trying to determine which pieces I actually needed. Just a tip...the sizes of plywood at the store are not your typical measurements such as 1/4" and 3/4". Instead, you will find sizes such as 19/32" and 23/32", which make calculating the correct size all the more interesting. When I finally found someone to ask, I learned that it was as simple as counting the stripes on the side of the board. Simply put, I needed one sheet with 3 green stripes and another with 5 green stripes. Lesson learned. The rest of the material trip was easy since I just needed common size boards that I had previously worked with.
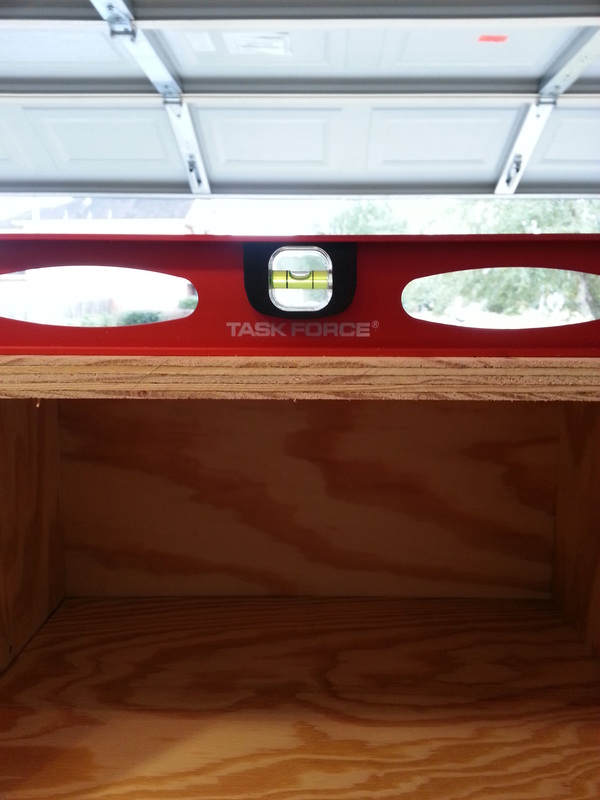
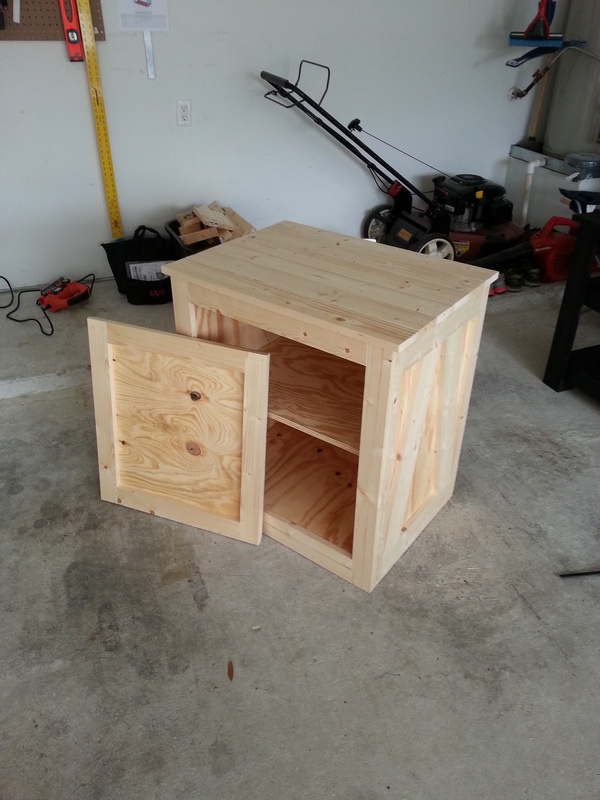
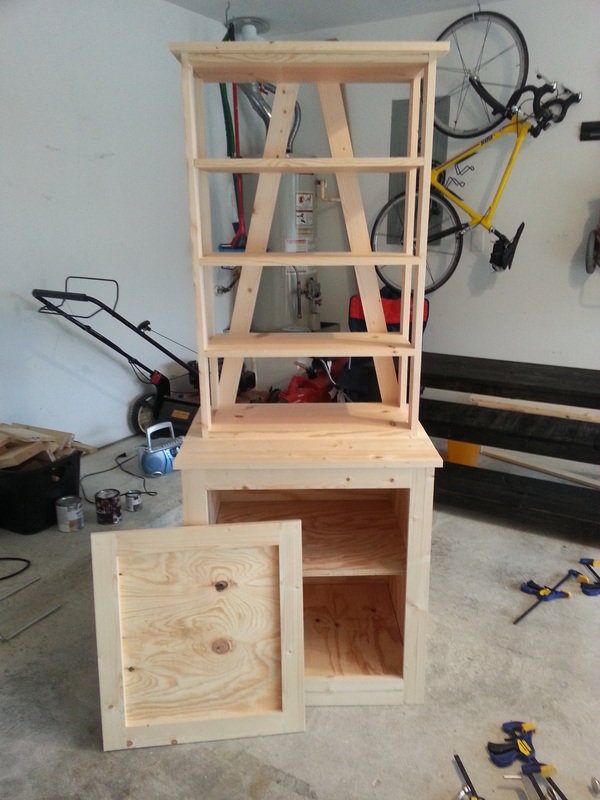
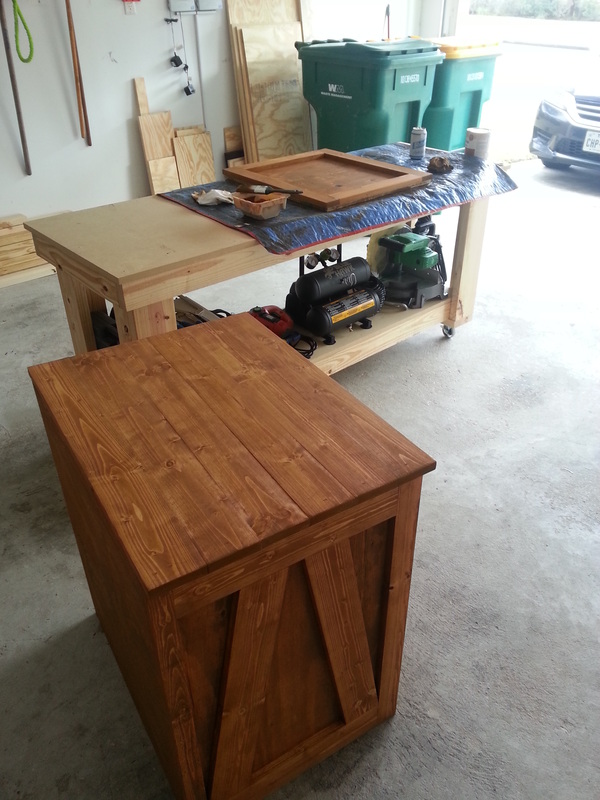
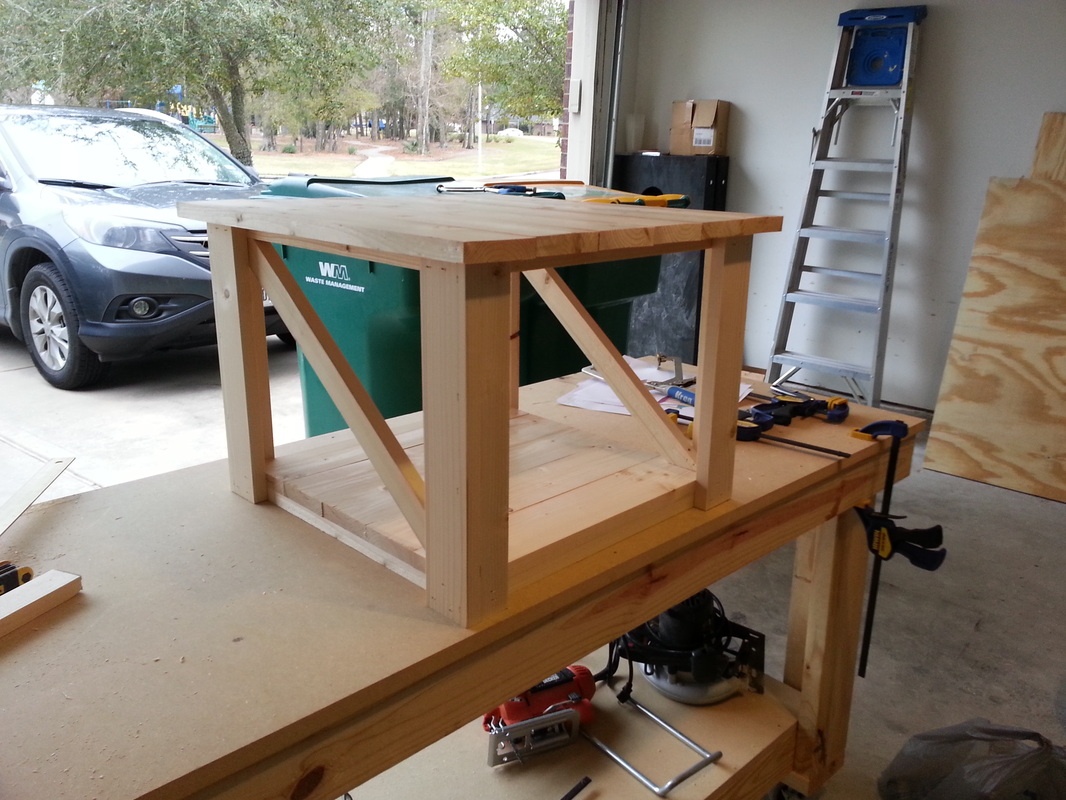
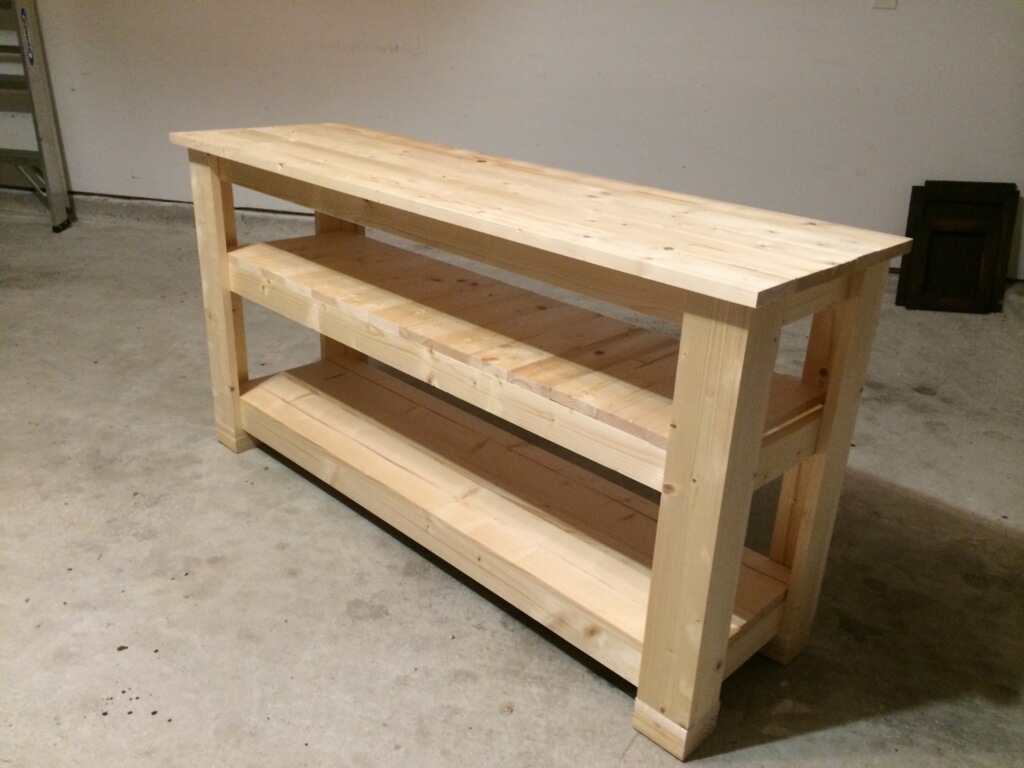
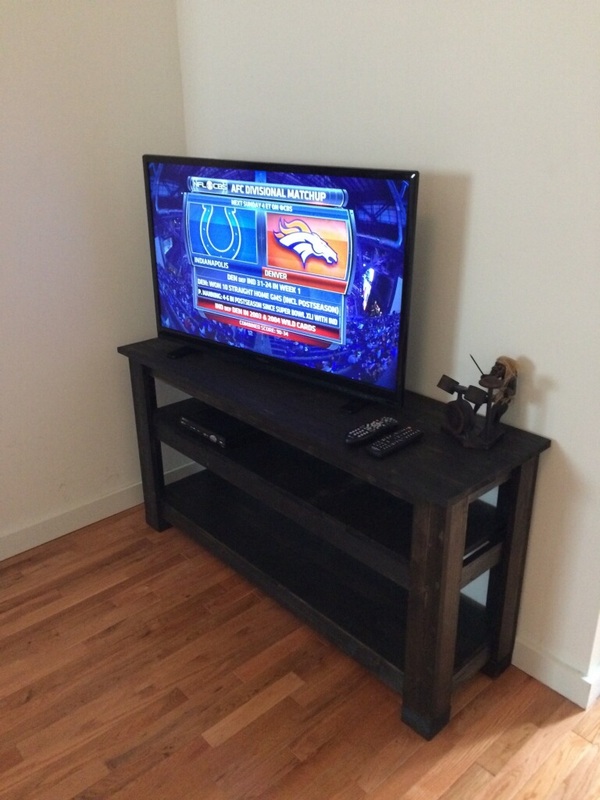
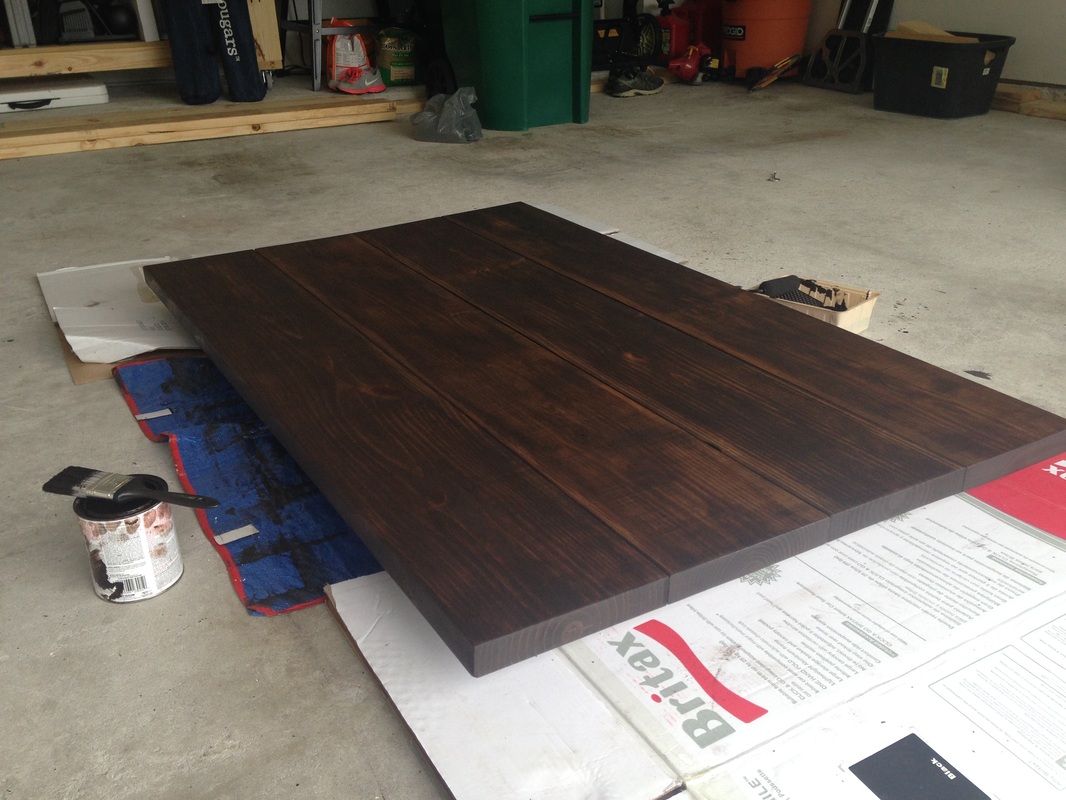
My next challenge came when it was time to have the plywood cut down to size. Having only needing someone to cut plywood down to size once before for cornhole boards, I wasn't prepared for what was about to happen. I brought all of my measurements with me and had a very nice employee make all the cuts for me. It wasn't until I returned home that I realized that the boards weren't to the specs that I needed. Some were too small, some were too big, and others were just plain crooked. When I put the frame of the first cabinet together with the plywood, I just about gave up. It was so lopsided and it looked like I didn't stand a chance to put this together. I kept building and one way or another got it straightened in the end. The shelf on the top went together much easier than the cabinet and took almost no time at all. I took a few weeks away from building the second cabinet and shelf, which was good because it gave me time to plan for how I would approach the next plywood box. This time, I had the plywood cut down in to 4 sections and made the precision cuts at home with my circular saw. As you can see from the first picture below, it came out perfectly level! I stained the shelves with the same wheat color as the desk and we stocked it with accessories from Hobby Lobby. Now, our study is complete with furniture that will surely withstand the test of time. Not to mention, we think it looks great too!
When Lindsay found the desk from Shanty-2-Chic, she not only noticed how nice the desk looked but also how nice the matching set of cabinets and shelves looked as well. I have to admit, I was very overwhelmed when I looked at the picture because I knew this would require materials that I have not worked with before and introduce me to a whole new skill set. But amidst all of those thoughts, I liked the way the set looked as well. After looking at the plans for several days and knowing that I was at a point of no return since I had already built the desk, I gathered my materials list and set out to my local big box store. In addition, we made this a family trip, which made it all the more interesting. I stood and looked at plywood for a good 30 minutes trying to determine which pieces I actually needed. Just a tip...the sizes of plywood at the store are not your typical measurements such as 1/4" and 3/4". Instead, you will find sizes such as 19/32" and 23/32", which make calculating the correct size all the more interesting. When I finally found someone to ask, I learned that it was as simple as counting the stripes on the side of the board. Simply put, I needed one sheet with 3 green stripes and another with 5 green stripes. Lesson learned. The rest of the material trip was easy since I just needed common size boards that I had previously worked with.
My next challenge came when it was time to have the plywood cut down to size. Having only needing someone to cut plywood down to size once before for cornhole boards, I wasn't prepared for what was about to happen. I brought all of my measurements with me and had a very nice employee make all the cuts for me. It wasn't until I returned home that I realized that the boards weren't to the specs that I needed. Some were too small, some were too big, and others were just plain crooked. When I put the frame of the first cabinet together with the plywood, I just about gave up. It was so lopsided and it looked like I didn't stand a chance to put this together. I kept building and one way or another got it straightened in the end. The shelf on the top went together much easier than the cabinet and took almost no time at all. I took a few weeks away from building the second cabinet and shelf, which was good because it gave me time to plan for how I would approach the next plywood box. This time, I had the plywood cut down in to 4 sections and made the precision cuts at home with my circular saw. As you can see from the first picture below, it came out perfectly level! I stained the shelves with the same wheat color as the desk and we stocked it with accessories from Hobby Lobby. Now, our study is complete with furniture that will surely withstand the test of time. Not to mention, we think it looks great too!


 RSS Feed